In order to open my mind on what lies outside of the Node.js and npm ecosystem, I decided to give Deno a try.
In this post, I will discuss how I implemenented basic authentication and authorization for a simple Deno backend server that uses the Deno Oak framework and GraphQL. The source code can be found in the accompanying Github repository.
Higher Level Overview
Understanding the GraphQL Schema
In order to have a overall understanding of the backend server that I made, let us look at its GraphQL schema.
type LoginResponse {
    accessToken: ID,
    username: String
}

type Query {
  backend: String,
  login(email: String, password: String): LoginResponse,
  auth: String,
  admin: String
}
This backend server is straightforward, with only four queries: backend, login, auth, and admin. To keep the server as simple as possible, there are no mutations.
-
The
backendquery gives the client a message indicating that the server is up and running. This query is unauthenciated, and any client can use this query, whether or not they are logged in. -
Given a user’s email address and password, the
loginquery returns a JSON Web Token (JWT) that contains the user’s corresponding UUID, along with the user’s username. If the user does not exist, or if the password is incorrect, the server will return a response indicating that the login has failed. -
The
authquery returns a message indicating whether or not a user is logged in. This query implements basic authorization in the backend server. -
The
adminquery returns a message indicating to the user whether or not if they are an admin. If they are not an admin, the query returns an error indicating that they areUnauthorizedin using this query. This query implements authorization only for users that have administrative permissions.
Taking a Look at the Database
The database contains the following tables:
CREATE TABLE auth (
  id uuid PRIMARY KEY DEFAULT uuid_generate_v4(),
  email VARCHAR(100) UNIQUE,
  passwordhash VARCHAR(64),
  salt VARCHAR(32),
  scopes jsonb
);

CREATE TABLE usertable (
  id uuid REFERENCES auth(id),
  userdata jsonb
);
The auth table holds a user’s confidential login information, while the usertable table holds basic information about a user (all of which is stored in the userdata JSON blob).
Every user’s password is not stored in plain-text. Rather, a user’s password is hashed with the pycrypto crypt() function, with a specified salt that is unique for each user.
In order to keep everything as simple as possible, I did not implement a registration mutation for this server (i.e. allowing a client to make a new account). As a result, the server only supports two users, which I have hardcoded into the Postgres database.
Information on one such user in the database can be seen below:
INSERT INTO auth (
  id,
  email,
  passwordhash,
  salt,
  scopes
) VALUES (
  '6e007ce8-7a29-470a-9d87-c2dae1d9728e',
  'simeonat@notrealemail.com',
  crypt('simeonat', '6e007ce87a29470a9d87c2dae1d9728e'),
  '6e007ce87a29470a9d87c2dae1d9728e',
  jsonb_build_array('user')
);

INSERT INTO usertable (id, userdata) VALUES (
  '6e007ce8-7a29-470a-9d87-c2dae1d9728e',
  jsonb_build_object('username', 'SimeonAT')
);
I used a UUID generator to generate hard-coded random UUIDs for each user.
To keep everything relatively simple, I created the salt for each user by taking each user’s UUID and removing the - characters in the UUID.
However, if I were to actually deploy this backend, I would create a create a random Blowfish salt using the Postgres pgcrypto gen_salt() function.
Implementing Authentication
The Higher Level User Experience
In order to login into their account, a client will send a login query to the backend with their username and password. If their login was successful, they will receive a JWT that they can use to authorize themselves with the backend server. If their login information was incorrect, they will get an error message.
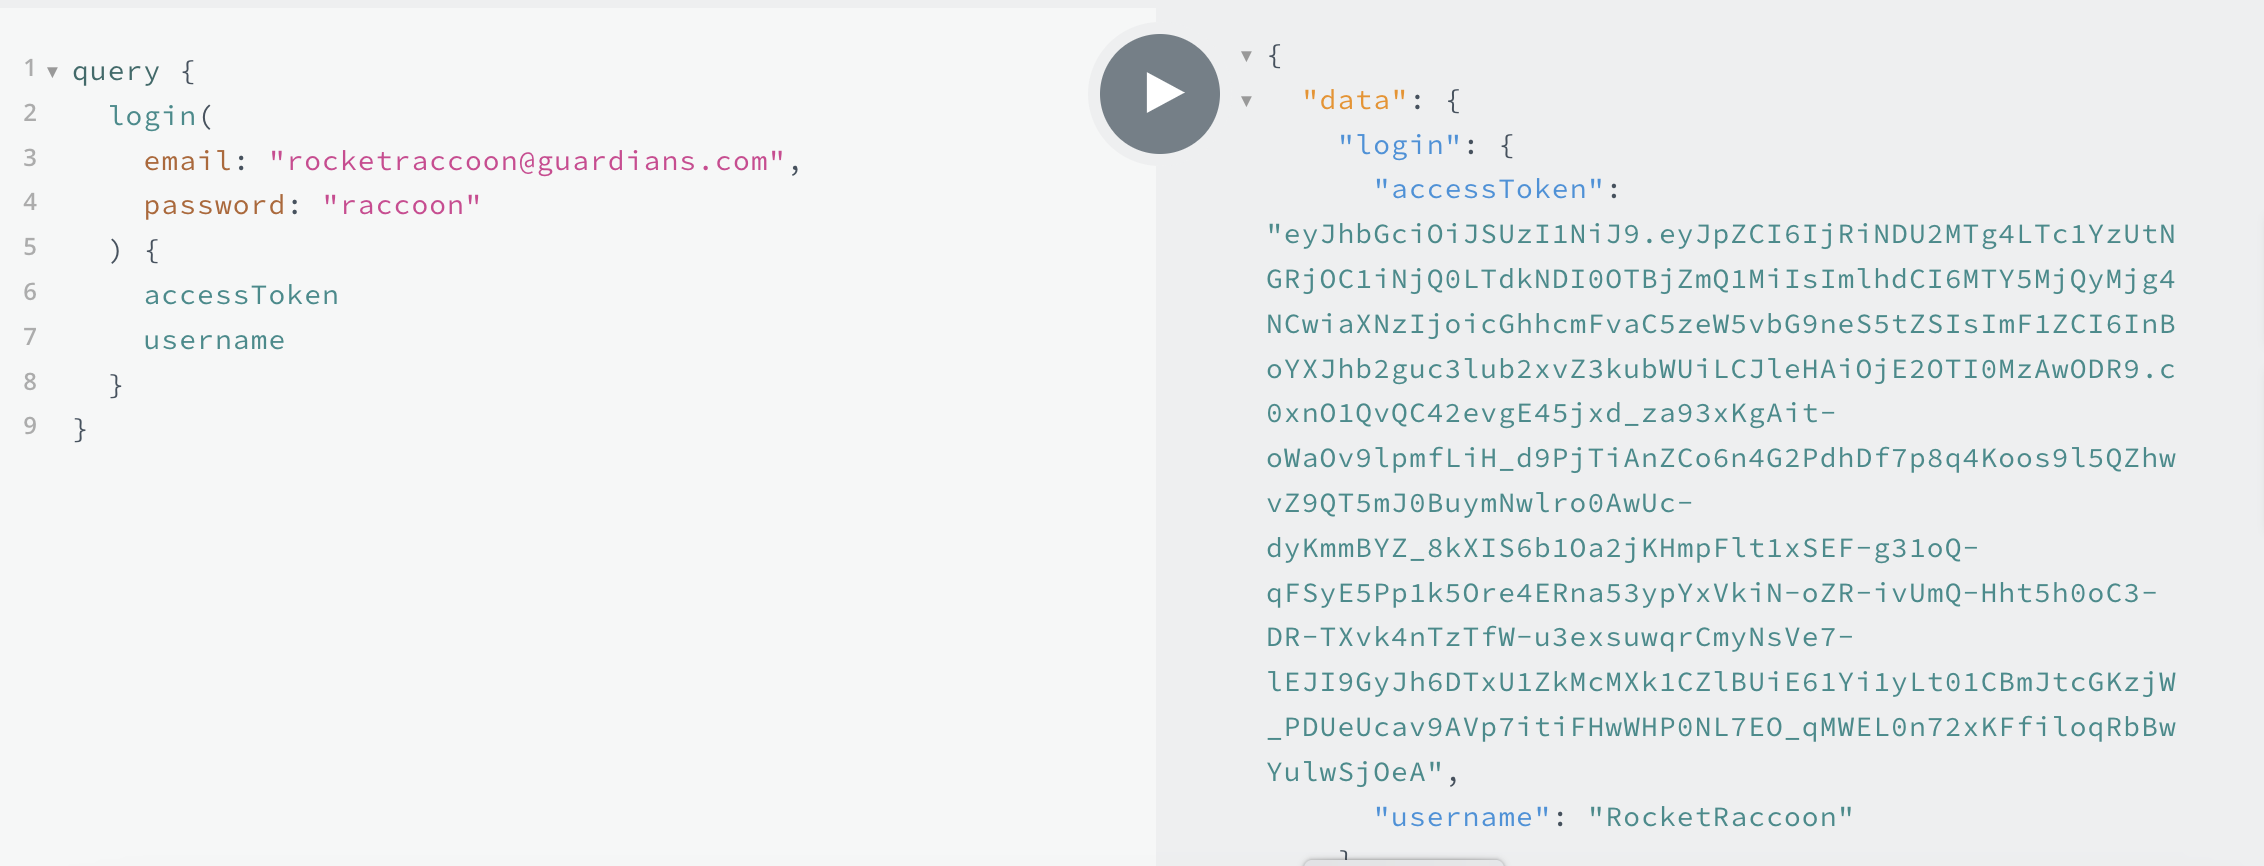
As an example, for the GraphQL query:
query {
  login(
    email: "rocketraccoon@guardians.com",
    password: "[insert password here]"
  ) {
    accessToken
    username
  }
}
If the login was successful, the user will get the response:
{
  "data": {
    "login": {
      "accessToken": "[the user's encrypted JWT]",
      "username": "RocketRaccoon"
    }
  }
}
On a login failure, the user will simply get:
{
  "errors": [
    {
      "message": "Failed to login",
      "locations": [
        {
          "line": 2,
          "column": 3
        }
      ],
      "path": [
        "login"
      ]
    }
  ],
  "data": {
    "login": null
  }
}
The Code Behind Login
When the user sends a login query, it will immediately be sent to a resolver function named authenticate, defined as part of the authentication controller class.
  public async authenticate(_: any, args: LoginRequest):
  Promise<LoginResponse> {
    const auth = new AuthService();
    const jwt = new JwtService();

    return await auth.authenticate(
      args.email,
      args.password,
    ).then(async (contents) => {
      return {
        accessToken: await jwt.sign(contents),
        username: await auth.getUsername(contents.id),
      };
    });
}authenticate function.
The authenticate function of AuthController passes the login information to an authentication service. The authentication service will find whether the email sent by the login query matches to an existing user. If so, it will then hash the password given by the login query, and compare it to the hash stored in the database.
If the hashes match, the password is correct, and the user is logged in. If the hashes do not match, then we throw an error, indicating that we have a login failure.
  public async authenticate(email: string, password: string):
  Promise<JwtContents> {
    const {rows} = await client.queryArray(
      `SELECT id FROM auth WHERE email = $1
       AND passwordhash = crypt(
        $2,
        (SELECT salt FROM auth WHERE email = $1)
      );`,
      [email, password],
    );

    if (rows.length == 0) {
      throw new Error('Failed to login');
    }
    return {
      id: rows[0][0] as string,
    };
}Implementing Authorization
The Challenge of Authorization
Implementing authentication (i.e. login) was a relatively straightforward task. The tricky part is in implementing authorization.
There are some queries that only administrators can use (i.e. the admin query), while there are other queries that everyone can use (i.e. the auth query), only if they are logged in. In addition, the may be queries that everyone can use (i.e. the backend query), whether or not they may be logged in.
Thus, the challenge of implementing proper authorization is to ensure that only people with the proper permissions can utilize a query. These permissions will vary on a per query basis.
The Solution: Implement our own “Middleware”
To implement the different permissions different queries may have, I implemented a function that determines whether or not the HTTP request is authorized to receive a response from a specified query. This wrapper function is our “middleware” that is called for every query that requires authorization.
To see this middleware in action, let us take a look at the backend server’s GraphQL resolvers:
const resolvers = {
  Query: {
    backend: base.defaultResolver,
    login: auth.authenticate,
    auth: authorize(auth.authorized, ['user', 'admin']),
    admin: authorize(auth.admin, ['admin']),
  },
};
The first argument of the authorize() function is the actual resolver function for a given query. The second argument specifies the permissions that a client needs in order to utilize a given query.
If a query does not need authorization, then it is not wrapped with the authorize() function. This applies to the backend query, and even the login query, as everyone should be allowed to login (whether or not the authentication is successful is a different story).
The Authorization User Experience
The HTTP Header Format
If a client wants to access a route requiring authorization, they must add their access token (JWT) in the header of the HTTP request, under the authorization field, in the format Bearer [their access token].

The User Experience
Sending an auth or admin Query
After putting their JWT into the HTTP header, a user can send the following query:
query {
  auth
}
If their JWT is valid, they should expect the following response:
{
  "data": {
    "auth": "You are authorized!"
  }
}
If their JWT is not valid, then they will end up with an Unauthorized error response:
{
  "errors": [
    {
      "message": "Unauthorized",
      "locations": [
        {
          "line": 2,
          "column": 3
        }
      ],
      "path": [
        "auth"
      ]
    }
  ],
  "data": {
    "auth": null
  }
}
Likewise, to send a query to the admin route, the user will send the following request:
query {
  admin
}
If they have administrative permissions (i.e. their account has the admin scopes; more on this later in the next section), then the user can expect to see the following response:
{
  "data": {
    "admin": "You have admin permissions!"
  }
}
Otherwise, they will get an Unauthorized error:
{
  "errors": [
    {
      "message": "Unauthorized",
      "locations": [
        {
          "line": 2,
          "column": 3
        }
      ],
      "path": [
        "admin"
      ]
    }
  ],
  "data": {
    "admin": null
  }
}
Digging into the Authorization Code
With an understanding of how the user should interact with the authorization API, we can now analyze the code that makes authorization work for the backend server.
The authorize() Function
Let us begin by taking a look at the code for the authorize() function.
export default function authorize(next: any, scopes: string[]) {
  return async (obj: any, args: any, context: any, info: any) => {
    const jwt = new JwtService();

    try {
      const request = context.request;
      const bearerAuth = request.headers.get('authorization');
      const accessToken = bearerAuth?.split(' ')[1];
      assert.assertEquals(bearerAuth?.split(' ')[0], 'Bearer');

      return await jwt.verify(accessToken, scopes)
        .then(() => {
          return next(obj, args, context, info);
        });
    }
    catch {
      throw new Error('Unauthorized');
    }
  }
}
The first task of authorize() is to determine if the authorization field of the HTTP header is in the correct format. If the authorization field cannot be found, or is improperly formatted (such as if the Bearer keyword is not present, or if there is no JWT present), then we throw an Unauthorized error response.
If the header is properly formatted, the JWT gets passed to a JWT Service object, which will determine the validity of the access token. The code for doing so is shown below:
  public async verify(accessToken: string, scopes: string[]) {
    return await jose.jwtVerify(
      accessToken,
      JwtService.publicKey,
      {
        issuer: this.issuer,
        audience: this.audience,
      }
    )
    .then(({payload, protectedHeader}) => {
      assert.assertEquals(protectedHeader.alg, this.algorithm);
      assert.assertEquals(typeof payload.id, typeof 'string');
      assert.assertEquals(payload.iss, this.issuer);
      assert.assertEquals(payload.aud, this.audience);
      return payload;
    })
    .then(async (payload) => {
      const id = payload.id as string;
      assert.assert(
        this.hasScopes(await AuthService.getScopes(id), scopes)
      );
      return;
    });
  }
If any of the assert function calls fail, then it must be that the JWT is invalid. In this case, we return an Unauthorized response error.
Does the User have the Proper Permissions?
If the assertions do pass, then the final step is to determine whether the user has the proper permissions to access the specified query.
We use the authentication service to query the database to get the permissions, or scopes that the user has:
  public static async getScopes(id: string) {
    const {rows} = await client.queryArray(
      `SELECT scopes FROM auth WHERE id = $1`,
      [id],
    );
    return rows[0][0] as string[];
  }
After doing so, we check if the user has a scope that is required by the specified query using the JWT service’s hasScopes() method.
  private hasScopes(
    userScopes: string[],
    requiredScopes: string[]
  ) {
    for (const scope of userScopes) {
      if (requiredScopes.includes(scope)) return true;
    }
    return false;
  }
}
If the user does have the proper scopes, we return several function calls back up to authorize() and run the resolver corresponding to the specified query. Otherwise, we return an Unauthorized error response.
Conclusion
If I were implementing this backend server in Node.js and npm, I would rely on TypeGraphQL to do all of the hard work for me. In particular, I would utilize its built-in authorization feature to handle the inherent trickiness of authorization. As a matter of fact, if I were to use TypeGraphQL, I would not even write the GraphQL schema by hand in a .gql file; I would instead just utilize its schema building capabilities.
However, TypeGraphQL is not available on Deno. Furthermore, there is no alternative Deno library that has the exact schema building and authorization handling capacities of TypeGraphQL (to the best of my knowledge). I could import TypeGraphQL as an npm library in Deno. However, I did not want to go this route, as there will be more hurdles to work through if I wanted to deploy this backend server on Deno Deploy.
Thus, this limitation gave me the opportunity to “go back to basics” by making me write out a GraphQL schema by hand, and writing functions that can handle the challenging parts of authorization.
All in all, creating this basic backend server was a great learning opportunity, and I hope my blog post can serve as an additional example (among the many great articles on the Internet) on how GraphQL can be used in conjunction with Deno.